Archive for the ‘Building Progress’ Category

And on with the roof

Wednesday, June 26th, 2013

Finally our mud box is now looking like a house with the roof structure giving it the missing perspective of height. Pic 1 above is the first truss raised, one of the girder trusses with the main jack truss that forms the hip end towering over it. Pic 2 is the completed hip end and the first few full trusses fixed off and in position.

We have a friend with 40+ years building experience helping us get this right and his wisdom and years of knowledge meant a slow and cautious start. Once the hip end was completed we were able to confirm we had built a square house and it was back to the gable end of the roof to begin running trusses that form the large 10×9 metre common area (lounge, dining and kitchen).  Pic 3 is the heaviest of the trusses lifted and fixed off. This truss supports the overhanging eave of the gable and has almost twice the wood of the other trusses.

Pic 2 above is our building friend dangling off a ladder as he fixes off that heavy truss. Pic 3 is looking down the roof line.

Pics 1 and 2 show some of the detail in that hip end.Pic 3 above is a landscape of the roof structure


Pic above shows the extra timber in that raking truss.

A mother of an update

Wednesday, June 19th, 2013

It’s been a while since there have been any pics to show progress of the build, and this time around there are plenty.

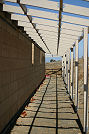
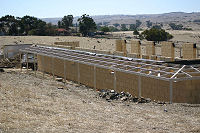
Above in Pic 1 we have the completed verandah frame looking down the west wall of the house. That’s almost 32 metres in length. Pic 2 is one of 400 or so joist hangers and many thousands of nails used to build the verandah. We’ve used these so the verandah will have no roost areas for the multitude of small birds around the place to congregate and leave their droppings on the paths below.

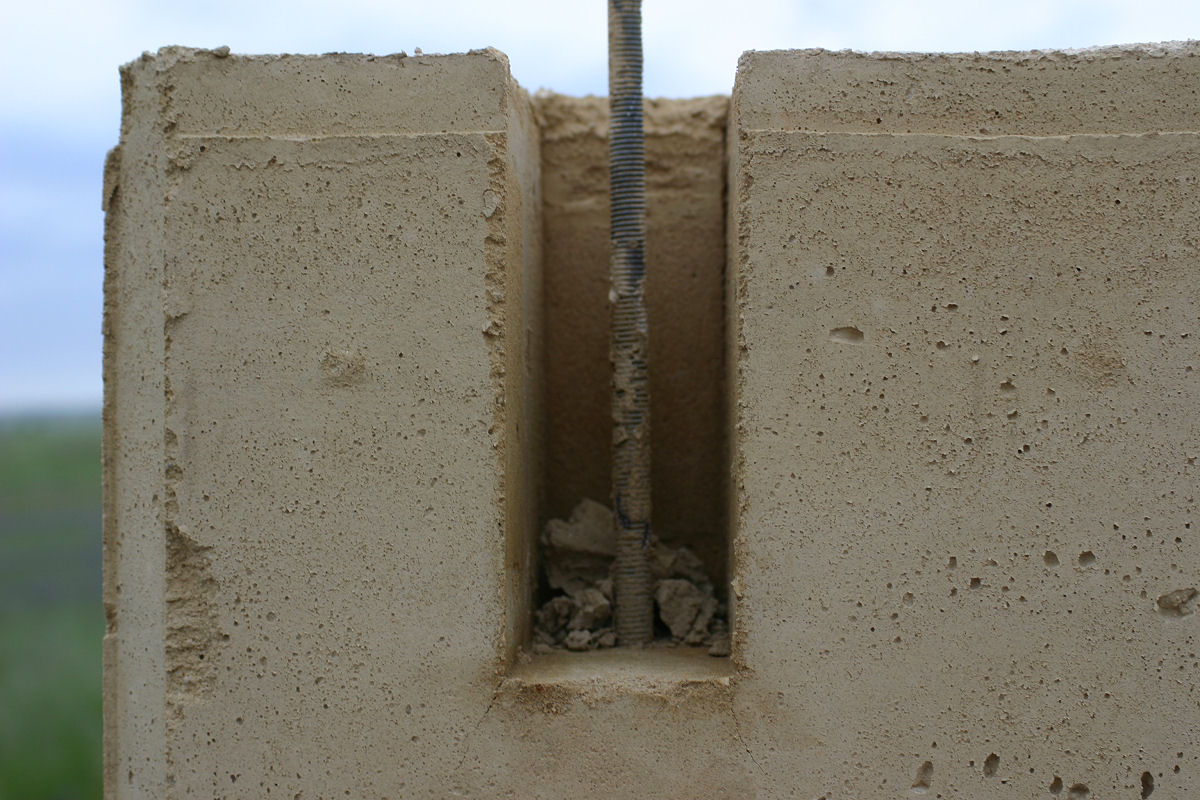
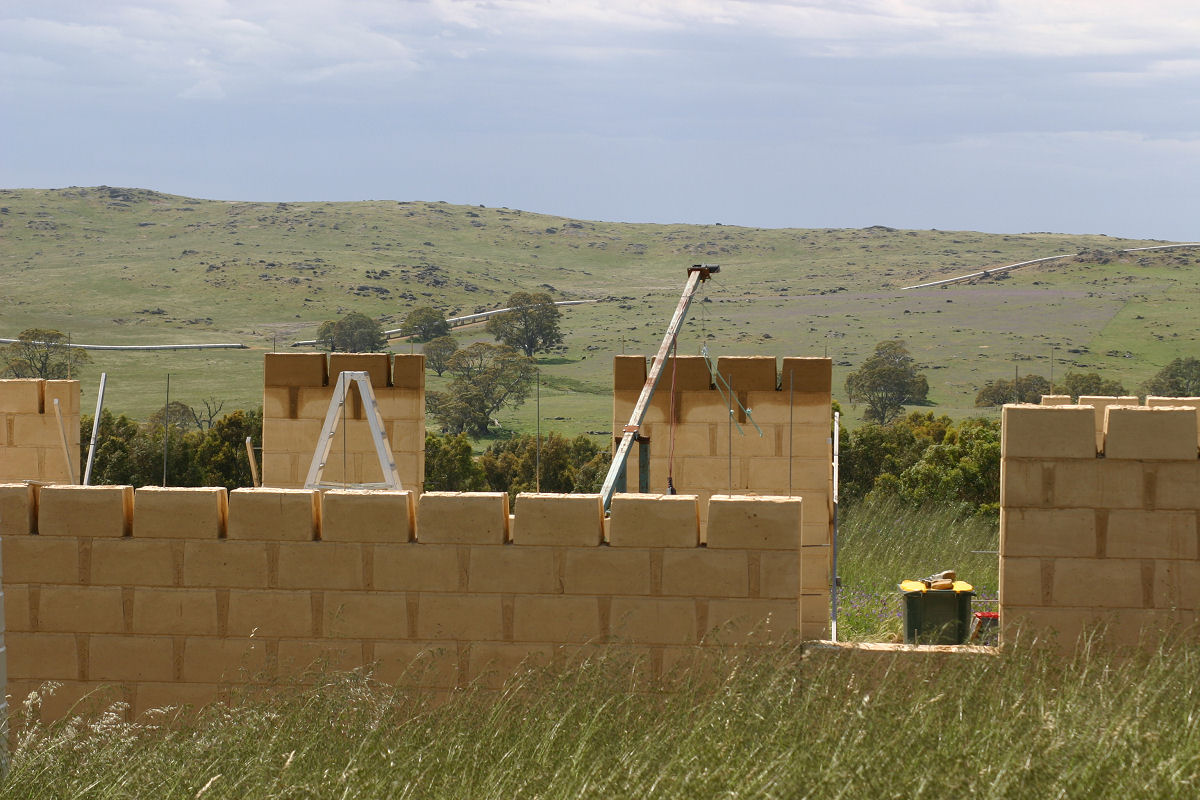
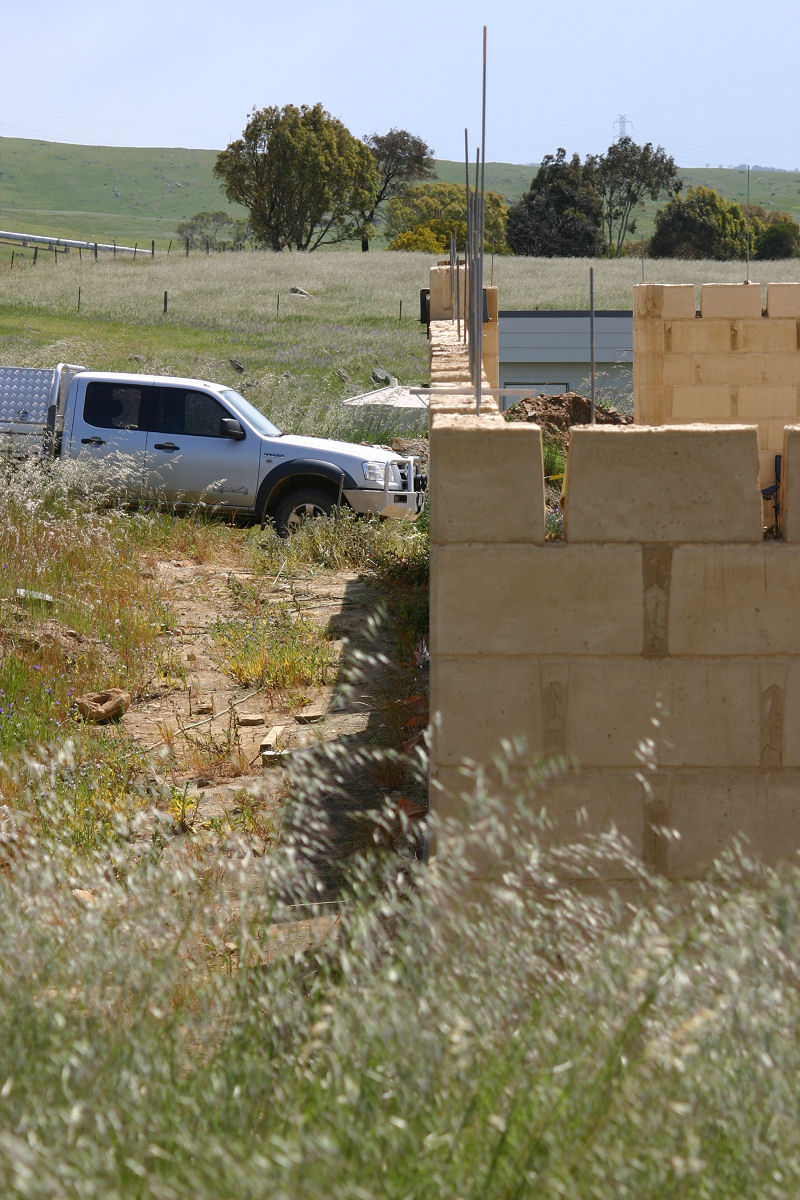
In previous posts I have mentioned threaded rods being moulded into the last row of block voids to allow the verandah to be fixed off. Pic 3 shows how this was acheived. The other end of these rods passes through the 90×45 top plate the trusses are fixed to giving us (I hope) a really solid fixing point. Pic 4 above and Pic 5 below gives a perspective of how it all wraps around the house.

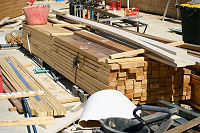
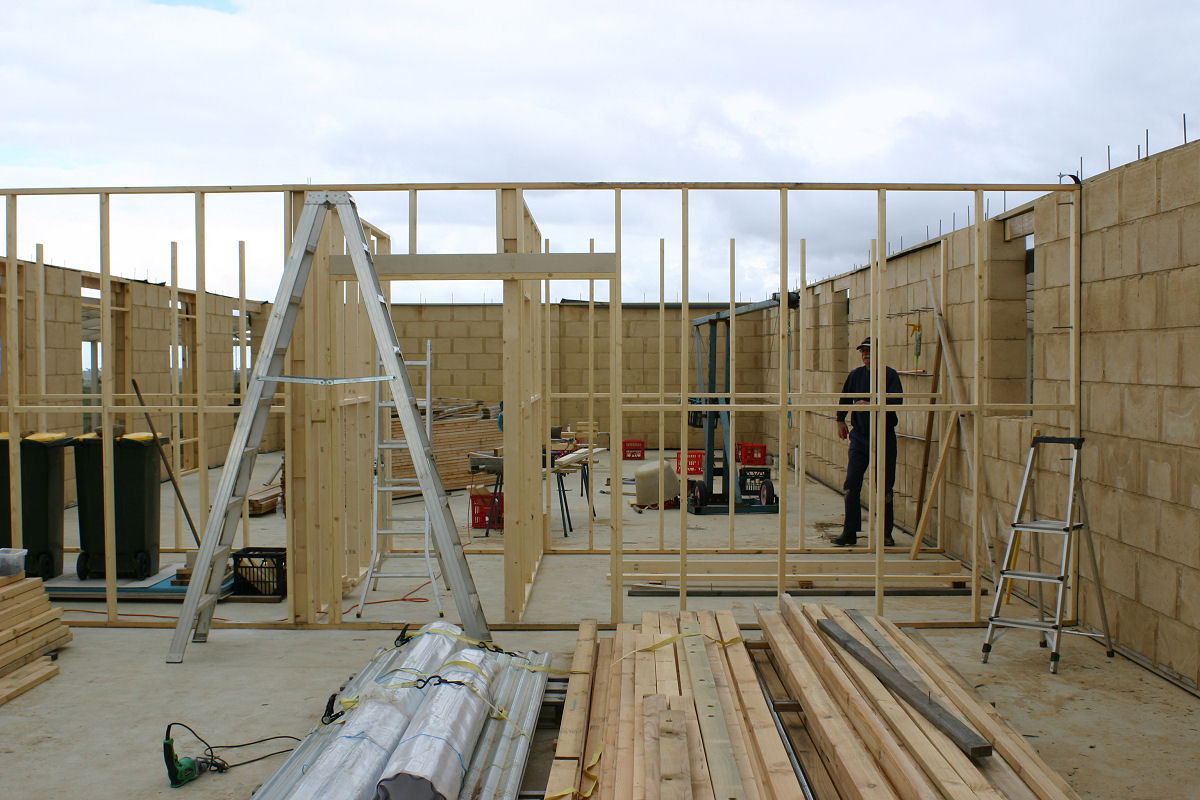
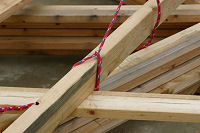
The 2 pics above are shots of the truss and timber piles which needed to be moved in order to build the internal wall frames.


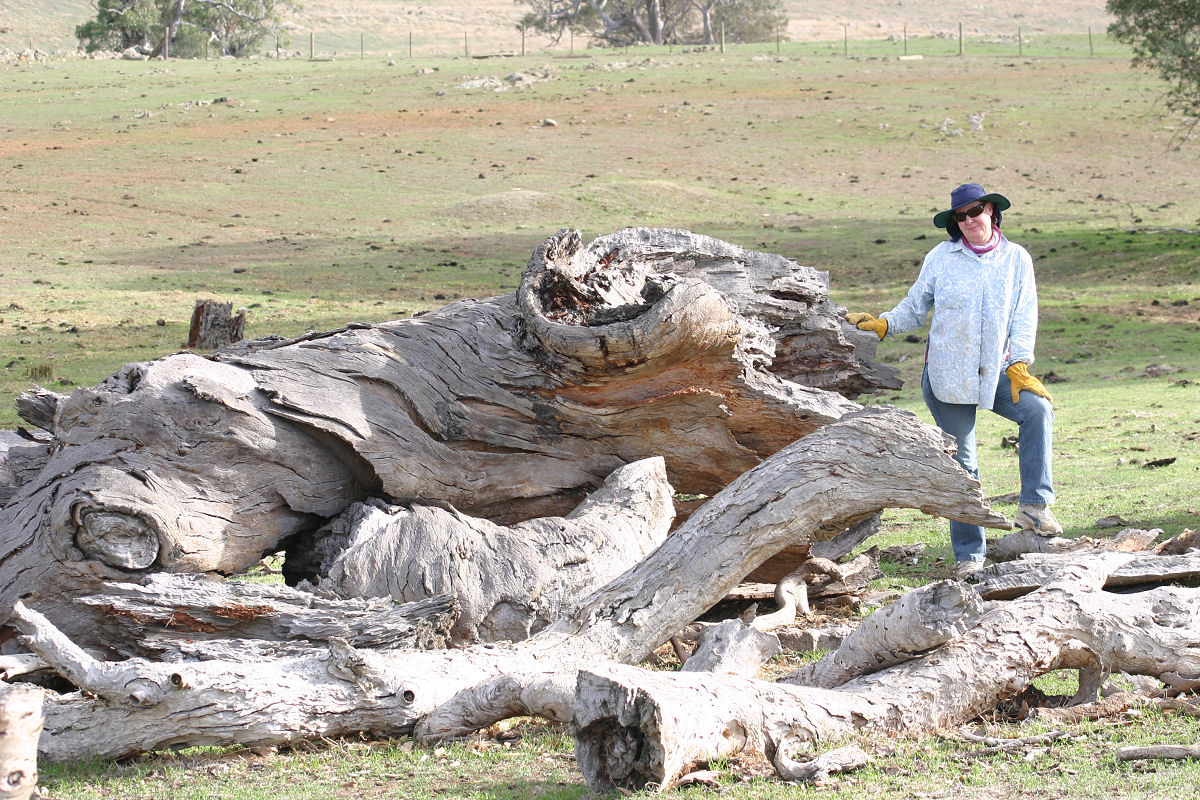
One of the luxuries of living in the country is the freedom of using wood to heat your home without the prohibitive cost of having to buy it nor having to worry about smoking the neighbours out of theirs on cold still nights. Pic 1 above is the “firewood” tree wih Elise standing next to it. Pic 2 is the view from this tree back to the house and Pic 3 is the fallen limb from this tree that we are using to keep warm as the winter cold bites. There woukd be 2 years worth of wood from this fallen limb alone, and we have 20-25 gums of this size and their dropped limbs spread around the property giving us a great source of well seasoned wood until our plantings are at harvest size in 5 or so years. Pic 4 is where we cross the creek on the property to access the firewood tree.


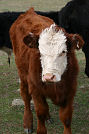
Above we have cows mobbing the ute. Over summer they are fed off the back of a ute and will come stampeding from all over the property when they hear a diesel vehicle clunking around in the paddocks. Next pic is one of the lovely picnic spots over the permanent waterholes spread along the creek. More cows mobbing the ute in Pic 3 and last up one of the latest arrivals on the farm.


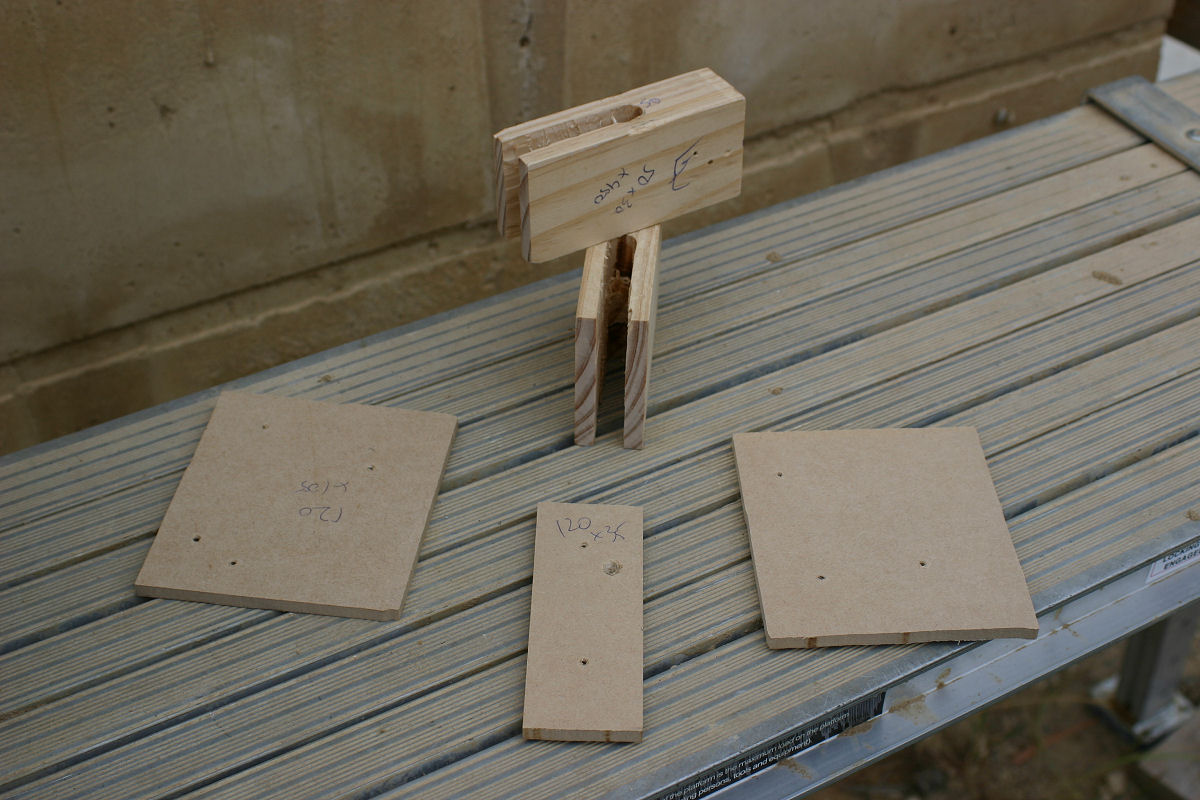
And finally, some internal wall framing. Pic 1 and 2 are of the wall dividing the living and sleeping areas. The wide opening with the lintel above it will house a cavity sliding door. Pic 3 is my ever reliable helper, father in law Roger, looking pleased with the days effort. Pic 4 is the beginning of the tedious task of framing the veneer walls of the wet area to suit the threaded rods set into the wall way back when we will still mixing and pouring mud.


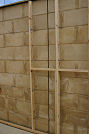
There is some 20 metres of this walling and Pic 1 and 2 above will give you an idea of how we used those rods to fix the veneer wall to the mud wall. Having the ability to adjust the position of the bracket with a spanner means these walls were beautifully straight and aligned with very little real effort. Rods were cut after both nuts were forcibly tightened to ensure the walls would stay put and then cold galv painted to slow the onset of any rusting. Once all those frames were made to suit the rods int he wall, the whole lot was pulled down and the reflective foil you see in Pic 3 and 4 was fixed to the back, frames fit back to where they came from then all 100 angle brackets were fixed and the walls adjusted to straight and plumb using the nuts spun onto the threaded rods..


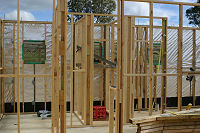
Pic 1 above is Roger working on the WIR/shower room/ensuite toilet area. Once we had this completed the trusses required moving and they were moved onto the two completed wall frames in Pic 2 above. Pic 3 is my trusty boom crane being used for that purpose. At full reach it was able to stack the trusses 10 high above the framed walls. Pic 4 is of the improvised slings used and the strong back, a 90×45 lump of timber, that kept the trusses from deflecting to the point of failure as they were lifted.


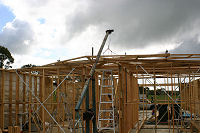
Finally we have the other fixing points of the strong back, simple friction clamps were plenty strong enough to hold all in place as the trusses were manouvered into place. Pics 2,3 and 4 are of the aerial antics once the trusses were lifted to maximum height.

Quick update

Friday, February 1st, 2013

I’ve quit my job and I’m now driving our son from Adelaide to Birdwood daily for school. While he’s in school I get about 5.5 hours out on the block to get some work done and then it’s back to school, pick him up and back to town.

We have secured a rental in Birdwood that is available from Feb 9 and we’ll be moving the essentials to this place ASAP so we can avoid putting the boy through the daily 100km round trip. He’s been a trooper with it so far but I know he’d rather be playing than strapped into his car seat for at least an hour a day.

I’ve been able to use the time he’s in school well for the 3 days it was possible to work this week, managing to mix and pour around 3 cubic metres of concrete into the footing pads for the verandah. I’m utilising the trade racks on the ute and taking safe amounts of timber and other materials with us each trip so the entirety of the verandah is just about sitting there ready to be built. By safe I mean we are driving through Chain of Ponds daily and having a raised centre of gravity, even just a hundred kilos or so, is enough to make the trip uncomfortable with the ute pitching and rolling around even at the much slower pace being travelled at keep the boy comfortable.

Before I can start with the verandah I need to finish anchoring the threaded rods into the wall so the verandah wall plate can be bolted to this. That should be finished by next weekend and then I’m thinking a week to cut to size and assemble the verandah. While I’m anchoring the rods I’ve also been levelling the rest of the top plate and only need to cut and fit the lintels before the top plate can be bolted into place.

The roof trusses are on site along with the kilometres of timber used for battens and purlins and it took me 2 full days to move all that from the driveway onto the safety of the slab. We should get them up and the majority of the braced wall framework into place inside another week, at which time I will order the roof cladding and insulation which has a 3 day lead time.

Once we are at lock up I’ll be back to work and plugging away at the build before and after work and on weekends. It’s also time for a couple of tradies to come in and get the electrical and plumbing out of the way for us.

The dream, she is a getting closer.

Windows and doors, Part 1

Sunday, January 20th, 2013

After getting quotes of $16 000 plus for the doors and windows in Western Red Cedar we made the decision to make our own, out of recycled Jarrah and Kauri hardwood of course. Part of deciding to make our own doors and windows included acquiring the proper machinery to get the job done with the least amount of fuss. A trip to Leda Machinery late last year was made to purchase the toys below.

Pic 1 is a planer/jointer which lets you square up the old timbers. Most if not all of these timbers were rough cut and little to no attempt was made to make them square. I use the planer/jointer to make 2 side square to each other. This is done by planing the wider surface then holding that newly planed surface flat against the back stop and planing down the thinner surface until the timber is squared.

Then the thicknesser in Pic 2 can be used to shave down the opposing sides and leaves us with nicely squared timber. Since few of these timbers are even the same dimensions, the thicknesser is then used to shave down the timbers until they are identical in width and depth. Pic 3 shows how I have them setup in a working environment, the dust extractor to the right of the thicknesser is absolutely necessary and you’d be mad to consider using any of these tools without one. These machines quickly make mounds of shavings and very fine dust which is almost as irritating as fibreglass. The lower bag of the extractor holds around 60 litres of debris and we have filled the 240 litre green waste bin almost twice just making the frames for the windows and doors.

There is a real feel of history passing through your hands when you get to work with recycled timbers. I’ve dug out quite a few “square” hand forged nails from the timber which indicates some of these lengths I am working with could be a hundred or more years old. We have purchased all of the timber so far from Adelaide Rural and Salvage and we’ve bought many metres of timber from them for projects in the past. Highly recommended for both their willingness to help and knowledge of the timbers they are dealing with.

Pic 4 below is a typical piece of jarrah out of the pile. Pics 5 & 6 show just what beauty is hiding below the dirt and grime encrusted outer layer of these timbers. The wood is just exquisite in both colour and grain.

Once timbers are cut and dimensioned they are allocated to a job set, hence the designators such as “T1” and “B3” and the like as in pic 7 below. Pic 8 is a simple lesson in mathematics. Set of blades for planer/jointer = $40, for the thicknesser $70. The metal detector was cheap insurance at only $60.

Priming the timbers

Saturday, November 17th, 2012

This is one of those jobs that most people would say really doesn’t need to be done and it is a total pain in the backside, but it should help the colour coat that goes on to the verandah remain sound for 15-20 years. I’ve used Dulux 1 Step acrylic sealer, primer and bonder to protect the seasoned treated pine from moisture. It’s being brushed on to make sure the coat gets into all the knots and irregularities of the wood. Even though it is dressed all round (DAR) it still is far from smooth.

All up there is over 600 metres of timber to be primed and top coated before it will be turned into the verandah. It is much easier to paint wood at waist level on level ground than try and do the job perched on a ladder once it is completed. We’ll just touch up the cuts as the timber is cut to length.

The colour coat will be Taubmans Endure with their new nanoguard technology. I’ve been extremely impressed with how the painted portions of the power room self clean, and appear to stay clean.

Pics 1 & 2 below show about 3/4 of that timber primed and ready for the topcoats. That’s our 14×9 metre aquaponics shed on the other side of it. I’ve been banned from playing with that until the house is habitable.

Third pic is a set of shutters that have since been slit into 150mm sections for the filling of the voids in the last row of blocks. I needed the angle iron on these to be able to clamp wood to position the threaded rods for the verandah fixing accurately in the voids before filling.

Moving right along

Saturday, November 3rd, 2012

The verandah, windows and doors are next on the to do list.

Work on all the recycled Jarrah and Kauri has begun with the first step being to properly de-nail the wood before it is passed through a planer to bring it all to the same dimensions.

We have already worked out how we want the windows to look for the different openings and once all has been planed to size the router will then cop a beating as the hardwood is machined to the profiles required for each of the openings.

Across the front of the house I can manufacture all the doors and windows bar the kitchen window and leave them safely stored here until needed. Once that is complete production will move on site with the front door frame and windows for the kitchen, craft room, walk in robe and wet areas being built to suit the openings in the walls to ensure best fit. The french doors for the master bedroom and the large set of doors for the dining area will be assembled on site as they will be too large and heavy to move safely if in one piece.

Once everything has been fitted all of the sashes will be removed and brought “back to town” to have a glazier fit the toughened glass required under the BAL 12.5 rating we have for our site.

I have ordered the verandah timber and hardware fixings from Bianco and they are scheduled to be delivered on Tuesday.

The verandah is going to be built differently to what most people are used to seeing. The purlins (roof sheets fix to purlins) will be fixed between rafters (rafters are the structural support for the purlins) rather than run across the top. This will reduce the overall profile height of the verandah as well as ensuring there are no “safe” spots for birds to sit and shelter while they crap all over the path below.

I’ve decided to do this with joist hangers rather than skew nailing as the hangers will provide greater strength (for walking on for example) and increase rigidity overall. All of the timber will be cut roughly to size and primed then painted before it is taken to the block to build the verandah.

And here it is

Monday, October 29th, 2012

And finally….

Saturday, October 27th, 2012

The last of the blocks for the external walls has been set and poured.

It’s great to have the true hard graft out of the way before the heat of summer kicks in. Now that it is completed lockup should be achieved before New Year. 2013 for those asking which one….

Special thank you to my father-in-law Roger who decided to take on the tough task of running the trommel and keeping the dirt supplies up for me. That was without doubt the dirtiest job on site and certainly the most taxing on the body.

Many thanks to my Dad for time spent grabbing odds and sods for me and helping where and when he was able to on site.

Thanks to Elise for prepared meals ready to take up to the block and keeping things organised and moving along at home.

Finally a big thank you to my Mum for looking after our son and making the time spent by Elise and myself possible.

In the coming weeks

Saturday, October 20th, 2012

Once all the sections are at that final layer there is one tedious job that will need to be completed – levelling all sections of the wall. I have a rotary laser to do this with and essentially I will find the lowest point then carve a 100mm channel into the remaining sections until there is a level plane for the top plate (90x45mm) to sit.

The 25 holes for the verandah pads will be dug shortly and the concrete will need to be mixed, poured and levelled and given 4 weeks to fully cure before we can start fixing the stirrups to these pads for the verandah poles.

Once this concrete has been poured the remaining gaps between the blocks will be filled with a section of threaded rod bent at 90 degrees to both protrude from the wall and up through where the top plate will sit. This will be the fixing point for the 3/4 return verandah. I’ve left this step until after the wall plate levelling is complete so we are not mixing, pouring and then paring away more earthen concrete than we need to.

From there the verandah will be built to the house as the clearance between the eaves and verandah will preclude a drill being used to fix off the verandah roof sheets.

Our first real tradie since the plumber will then be employed to assist and oversee building and cladding of the roof and the internal wall frames. All of this work is pencilled for completion by New Year.

Nearing the end……

Saturday, October 20th, 2012

We’re past 90% now and the next few days will see the worst of the back breaking work completed.

The three pics above are a close up panorama of the house from the top of the drive. The tallest of these is at the finished height of 9 blocks.


Pic 4 above is from the front gate. Pic 5 shows the crane with the boom balance point now moved to extend its’ reach. A simple crate with rock acts as ballast, if we need to lift anything over about 60kg then we add more ballast to balance the crane. Pic 6 is the method of forming the lintel voids in the wall I devised. This shot shows the machined wood internals and the simple MDF sheeting externals.


Pic 7 is the insert ready to go into the mix. I fix them together with common sticky tape which holds together nicely and allows for simply cutting the tape as in Pic 8 to allow the internal wood to be removed. The MDF is then simply pulled inwards of the remaining void and we’re left with a nice clean resting point for the lintel as in Pic 9


Pic 10 shows the reach the crane now has to be able to lift molds into place to complete the ninth layer. In the foreground there are walls at level 7 on the left and finished height on the right. I’ve been trying to maximise the components I have to be able to set and pour maximum blocks for a days’ work which means not everything is done sequentially.

Pic 11 shows the foreground “skinny walls” at level 8 with 2 of the columns in the back ground at level 9. Pic 12 is looking down the back wall and shows the slightest of deviations from a perfectly straight wall. That deviation is over 30 metres and I’m quite happy we got it as straight as it is. Pic 13 is the front columns of the house and again, almost perfectly straight over the 30 metres. You can also see in that shot where we’ve used the imbeded threaded rods to fix “X” supports to to brace the walls. There have been several storm events where neighbours have recorded 90kph+ winds and the braces have held the walls very well under those stresses.

Pics 13, 14 and 15 are again comparisons over time of the same corner as the building develops.