It’s been a while since there have been any pics to show progress of the build, and this time around there are plenty.


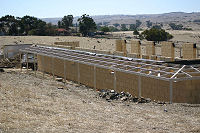
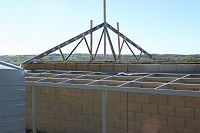
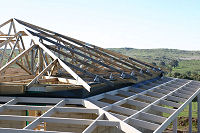
Above in Pic 1 we have the completed verandah frame looking down the west wall of the house. That’s almost 32 metres in length. Pic 2 is one of 400 or so joist hangers and many thousands of nails used to build the verandah. We’ve used these so the verandah will have no roost areas for the multitude of small birds around the place to congregate and leave their droppings on the paths below.
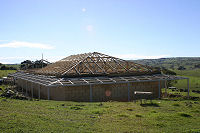
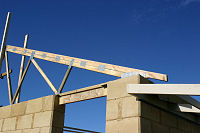
In previous posts I have mentioned threaded rods being moulded into the last row of block voids to allow the verandah to be fixed off. Pic 3 shows how this was acheived. The other end of these rods passes through the 90×45 top plate the trusses are fixed to giving us (I hope) a really solid fixing point. Pic 4 above and Pic 5 below gives a perspective of how it all wraps around the house.


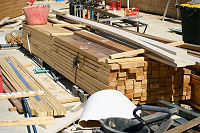
The 2 pics above are shots of the truss and timber piles which needed to be moved in order to build the internal wall frames.


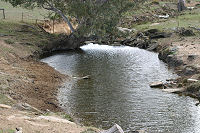
One of the luxuries of living in the country is the freedom of using wood to heat your home without the prohibitive cost of having to buy it nor having to worry about smoking the neighbours out of theirs on cold still nights. Pic 1 above is the “firewood” tree wih Elise standing next to it. Pic 2 is the view from this tree back to the house and Pic 3 is the fallen limb from this tree that we are using to keep warm as the winter cold bites. There woukd be 2 years worth of wood from this fallen limb alone, and we have 20-25 gums of this size and their dropped limbs spread around the property giving us a great source of well seasoned wood until our plantings are at harvest size in 5 or so years. Pic 4 is where we cross the creek on the property to access the firewood tree.


Above we have cows mobbing the ute. Over summer they are fed off the back of a ute and will come stampeding from all over the property when they hear a diesel vehicle clunking around in the paddocks. Next pic is one of the lovely picnic spots over the permanent waterholes spread along the creek. More cows mobbing the ute in Pic 3 and last up one of the latest arrivals on the farm.


And finally, some internal wall framing. Pic 1 and 2 are of the wall dividing the living and sleeping areas. The wide opening with the lintel above it will house a cavity sliding door. Pic 3 is my ever reliable helper, father in law Roger, looking pleased with the days effort. Pic 4 is the beginning of the tedious task of framing the veneer walls of the wet area to suit the threaded rods set into the wall way back when we will still mixing and pouring mud.


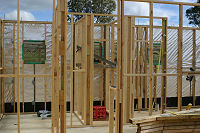
There is some 20 metres of this walling and Pic 1 and 2 above will give you an idea of how we used those rods to fix the veneer wall to the mud wall. Having the ability to adjust the position of the bracket with a spanner means these walls were beautifully straight and aligned with very little real effort. Rods were cut after both nuts were forcibly tightened to ensure the walls would stay put and then cold galv painted to slow the onset of any rusting. Once all those frames were made to suit the rods int he wall, the whole lot was pulled down and the reflective foil you see in Pic 3 and 4 was fixed to the back, frames fit back to where they came from then all 100 angle brackets were fixed and the walls adjusted to straight and plumb using the nuts spun onto the threaded rods..


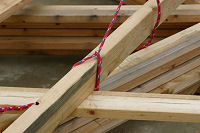
Pic 1 above is Roger working on the WIR/shower room/ensuite toilet area. Once we had this completed the trusses required moving and they were moved onto the two completed wall frames in Pic 2 above. Pic 3 is my trusty boom crane being used for that purpose. At full reach it was able to stack the trusses 10 high above the framed walls. Pic 4 is of the improvised slings used and the strong back, a 90×45 lump of timber, that kept the trusses from deflecting to the point of failure as they were lifted.


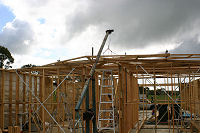
Finally we have the other fixing points of the strong back, simple friction clamps were plenty strong enough to hold all in place as the trusses were manouvered into place. Pics 2,3 and 4 are of the aerial antics once the trusses were lifted to maximum height.


