Archive for September, 2011

Progression yes, speed no.

Thursday, September 29th, 2011

4 days of horrible wet and windy weather have given me the opportunity to sit and do some thinking and give a few updates on what is happening and where we are with the build.

As we come to the end of the first pallet of white cement I’ve crunched the numbers and we are getting 2.12 blocks per bag. We do have some excess with every mix, and if I combine this back into the mixer with the next batch, every 5 full size blocks will yield enough excess to fill one of the skinny blocks. That will improve the yield per bag somewhat. This could not be done with the full size blocks as the volume of mix was simply impossible to handle by myself when it comes to lifting it onto the cart then dragging it around the site.

Why so much excess each mix? To cover spillage, leakage, slippage and the occasional brain fade.

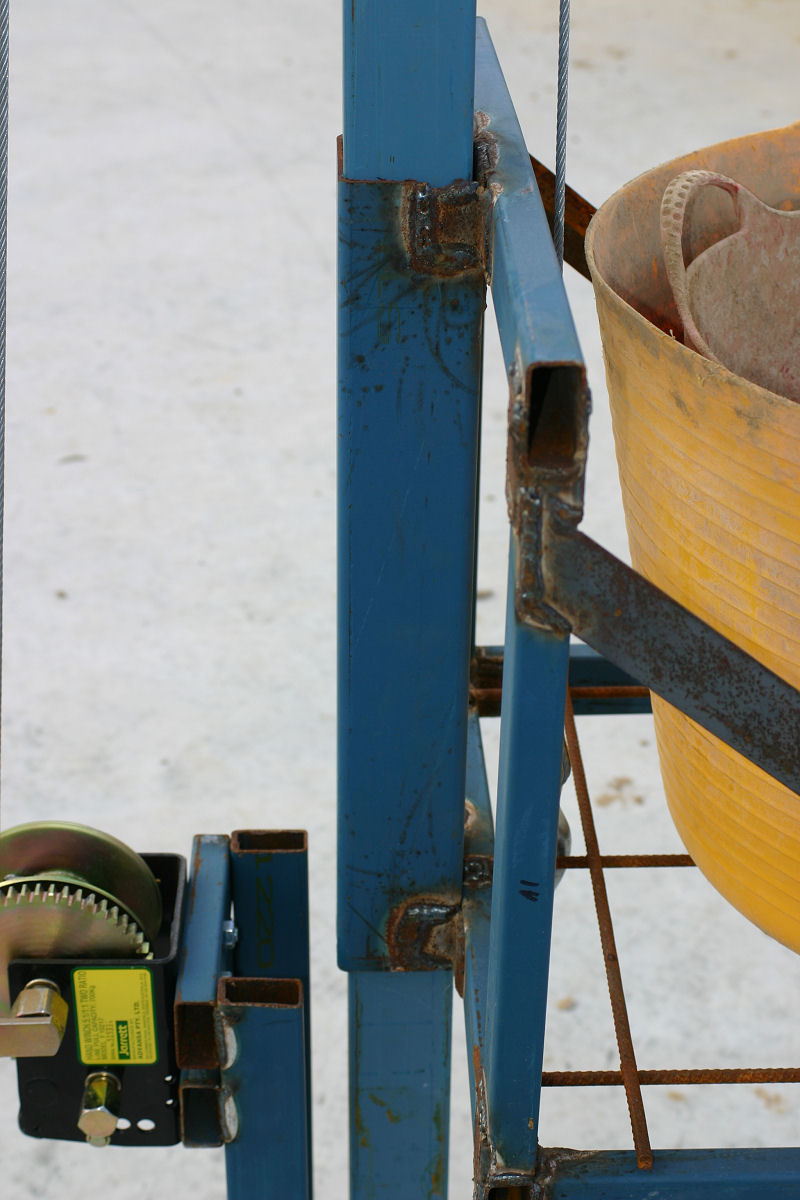
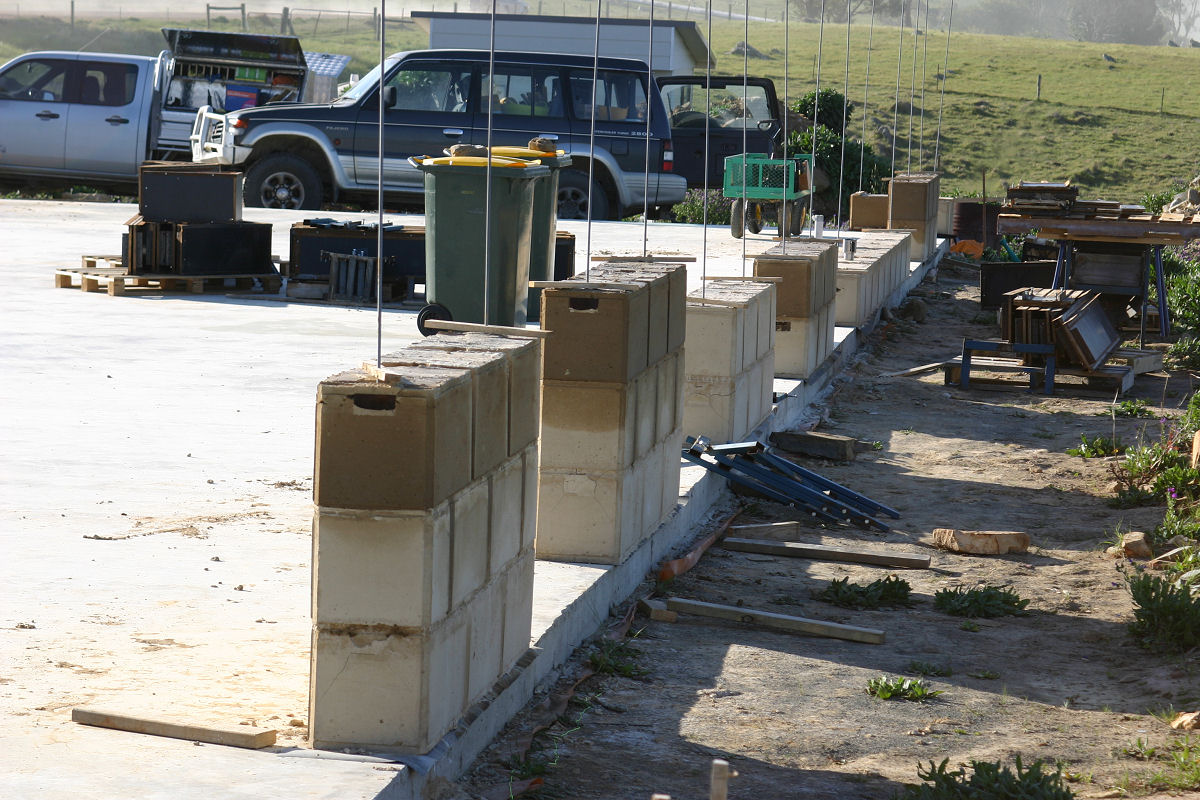
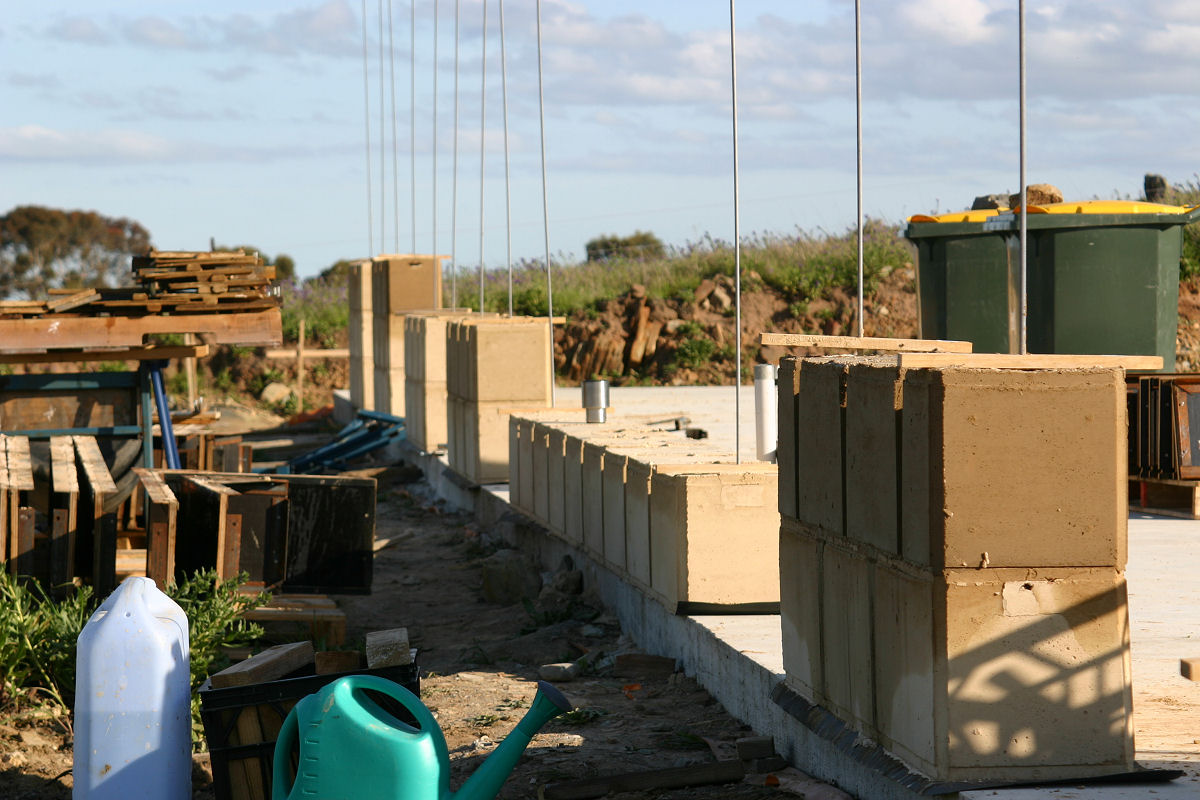
The base layer is complete minus the blocks that will pour into the expansion joints. Pics 1 and 2 below show the difference between skinny and full size blocks. 3 and 4 are details of how we are maintaining the gap between the skinny blocks and the interior timber frame using wood machined to the required size.

Pic 1 below is the front door, pic 2 is the large french doors and sidelights that make up the northern glass of the dining area. Pic 3 is what the shuttering looks like when it’s slapped into place and before the string line and spirit levels are brought into play.

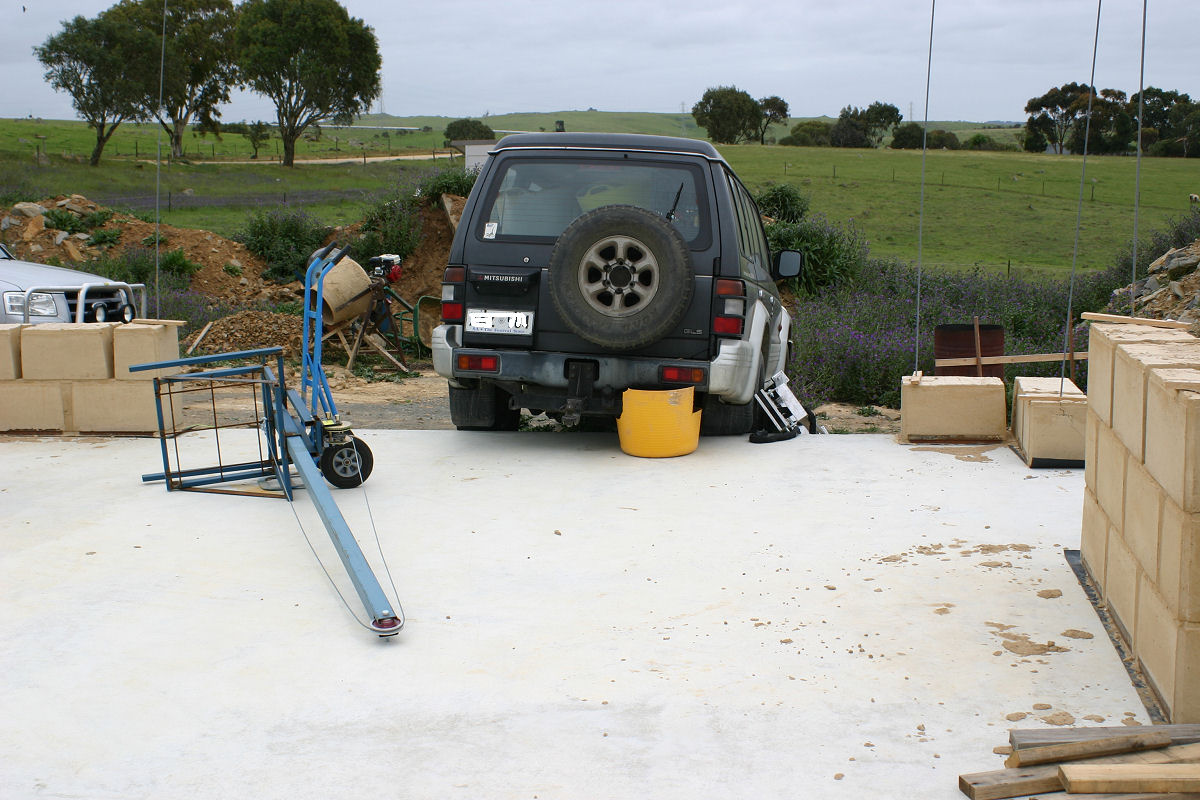
Final three pics are of the living area west wall, no windows in this lot. Note the expansion joint insert and the unpoured block next to it. In a previous post I attempted to explain how this would work, what this might show you is how I intend to make it work. Once the foams are in place (where the insert is) the next block will be shuttered and poured straight against those foams.

Update on costs

Thursday, September 29th, 2011

Grabbed 100 expansion joint ties as specified by the engineers from Bianco for $118.80
United Fastners for some extra bolts as we are losing a few to thread damage from grit and so on $35.40

Total project spend is now at $292,687.11
House only is now $78,734.61
Cost per square metre is now $273.38

Update on costs

Saturday, September 17th, 2011

It’s actually been some time since we spent any money on the build. We’ve finally depleted our white cement stores so I had to grab another pallet this week, and our OB insurance cover needed extending.

Bianco for 80 bags of white cement – $674.08
Allrisk Pty Ltd for OB insurance – $473

Total project spend is now at $292,532.91
House only is now $78,580.41
Cost per square metre is now $272.85

10% done

Thursday, September 8th, 2011

In terms of the volume of mud we need to mix we areĀ 10% through the process of building the walls. This coming week I hope to have the base layer completed around the perimeter of the slab. This is the process that is really holding things up.

Pic 1 below shows the fourth layer of blocks set up and ready to pour on one of the window columns. Pic 2 shows the master bedroom corner which has been set up back to the recess in the slab, and that is where the thinner blocks then take over and wrap around the wet area. Pic 3 is a shot fromĀ sou’west of the slab.

Pic 1 below is another shot from the rise behind the house. Pic 2 is my interpretation of the engineers spec for the expansion joints. This corner is the internal mud wall that creates the thermal mass behind the fireplace and acts as the entry way to the house.

All our expansion joints were specified as for standard double brick, meaning there is a gap that literally passes straight through the wall and only has a strip of foam keeping weather, vermin and bugs out of the house. My method is to encase a double thickness of this foam (2 strips of 100mm x 10mm) on the longer of the 2 angled faces and use a 20mm x 50mm hard foam strip down the middle of those 2 strips. When the next block is set to pour I will use 2 10mm x 50mm inserts to allow for the conventional 50mm sealing foam to be added later. The next block would then be poured straight against this, providing the expansion joint as required and hopefully excluding weather, vermin and bugs when this method is used on the external walls. If you’re confused, me too. Pics to come and the thousands of words they convey should clear the mud on that explanation.

Pic 3 is one of those “godsend” finds and is a 4’x2′ garden cart that we use to transport all sorts of stuff from one end of the slab to the other. 40 metres from the staging area by the cars to the far end of the slab doesn’t sound like a long distance until you start traipsing back and forth half a dozen times to carry what this cart can in one trip. Once everything is in place the cart becomes our mud barrow when we use a couple of 60 litre tubs to pour the mix into. With a skid in place, this will make it easy to transfer the tub of mud to the mortar lift (below) to lift up to the higher layers.

And finally, the mortar lift. I’ve designed and welded together a lot of projects and gadgets over the years and this one is the first to scare me no end. What it is is a 600mm square base with a 500mm square cradle to hold the mortar sitting internal of this. It has been made to lift to 2700mm maximum. The winch is a standard boat winch with a 500kg rated capacity. The winch is offset to allow the cradle to rise and fall the full height of the mast. Atop the mast is a 100mm pulley spinning on a 5/8″ high tensile bolt as the axle. The mast has 10mm strips welded internally to stop the weight of the full cradle from tearing larger holes in the 2mm steel of the mast over time. To move the lift we simply use a sack trolley when needed. For safety reasons I will be checking the welds weekly as part of the maintenance routine we have in place for all the other machinery on site.

Progress!

Thursday, September 1st, 2011

After nada for so long we can actually brag about making some progress with the house build. This first layer as I have said in previous posts is a drawn out process which is slowing things down for now. First pic below shows the “front” of the house from the master bedroom end. Currently the highest we have poured is three courses, the full height of these walls is nine courses.

Second pic is the moulds set and ready to pour for the second course of the kitchen area of the house. I have been assisted by my father-in-law for much of the work so far and thanks again Roger, your help is truly appreciated. Third pic is meant to show just how much water I am pouring into the previous bricks to stop the void cracking problem we had encountered with the power room.

As a carry over from the third pic above, the first pic below demonstrates just how the moisture from the new layer is drawn into the previous blocks as seen in the middle group of blocks. Second pic below is old truck and new bus. The Pajero lives on as storage for now and is quite handy to stash things between trips back to town. Last pic shows the kitchen wall area before the moulds were reset. Again you can see just how much moisture the previous layer of blocks is capable of absorbing in the grouping closest to lens.

So far the results we are achieving are pleasing. I’m looking forward to completing the lower level of blocks around the perimeter of the house, from there the pace of the build will increase. We are seeing days in the mid 20’s already which is a bonus with the moulds now coming off after 24 hours. On the downside as things warm up and materials dry out I am already using 5 litres more water per batch compared to last week and having to mix the soil and water for longer to activate the clay. Put simply I now have to keep a very keen eye on the mixes to make sure they look right in texture and mositure to keep our end result consistent.