May 26th, 2011
Quite frankly the long range weather outlook is rather bleak with plenty of rain affected days to come over the next few months. In view of this I’ve just ordered enough steel and formply to double the current mould system shutters.
Since the dividers can be removed without actually exposing any of the drying earth mix these will not need duplicating, but the dividers they sit within will also need duplicating. This way when the sun shines I will be able to “make hay” (40 or so metres of wall) over 2 days and still allow the 2 day drying time that seems to have worked with the power room when we were experimenting with method.
Perfect weather would see us have the walls finished in under 9 weeks using the time per block we achieved with the power room during our testing. Since we can’t control the weather we’ll just do all we can to use fine conditions to our advantage instead.
Posted in Building Progress, The House | No Comments »
May 17th, 2011
Been a while so this is a largish update:
Bunnings for everything from fibre cement planking to insulation and tank fittings – $1560.70
Stratco for roofing materials and timber battens for ceiling and roofing to be fixed to – $552.12
Ebay to various sellers for a steel fire door and the wood for the framing of the power room – $300
Mitre10 for external flashings – $30.47
Bushmans for the tank – $688
Total project spend is now at $291,038.33
House only is now $77,085.83
Cost per square metre is now $267.66
From here I can confidently predict the house will reach lockup at around $390 per square metre.
The house will be habitable and pass council occupancy standards at roughly $560 per square metre including the off-grid power setup and a 150kL water tank.
Posted in Project Costs | No Comments »
May 16th, 2011
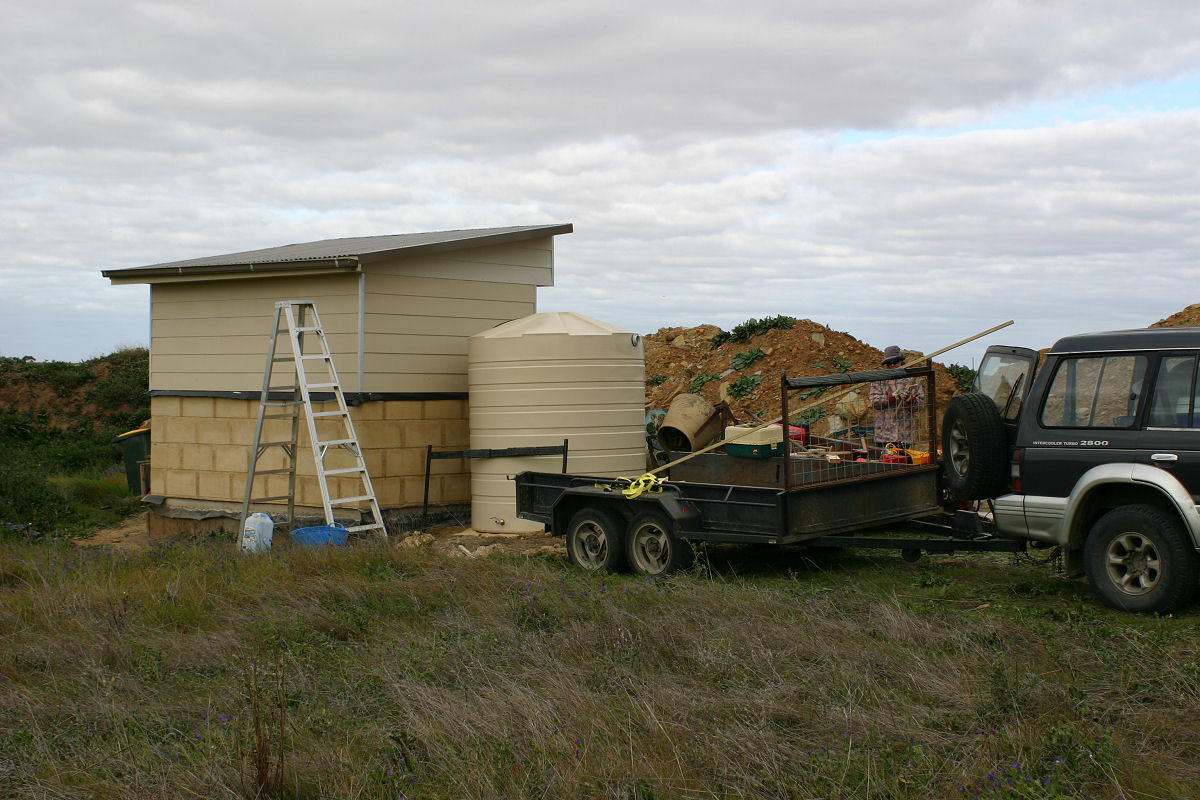
Power room is now complete externally with the flashings, guttering and rainwater tank now in place. Extreme angle on the gutter is an experiment in capturing water as the overnight conditions are regularly dropping below 0C apparent temp causing moisture to condense on and drip off the steel roof and I’m curious to see how much we can get in the tank. Not much point having it drip and sit in the gutter if I can make it pool towards the pop end of the gutter and capture it.
I’m not sure just how much if any water can be captured this way but it’s worth a measure seeing this shed is 2% the roof size size of the finished house/shed/pergola/verandahs. That or I’m mad.


First and second pic show the tank after we levelled the ground and dropped it off the trailer into place. The genset in the little trailer has proved to be a winner and I have even managed to run a 15amp inverter welder off it with no hassles at all.
We have the insulation and plasterboard for the internal fitout that we will fix into place the first day the weather prevents us from working outside. Painting can also wait until we have a day where all moulds have been filled and we have a spare hour or two……
We set up the layout hurdles before we called it a day so we now have a simple job of stringing a line between hurdles to give us something to run the moulds against for nice straight walls.
Posted in Building Progress | No Comments »
May 3rd, 2011
Easter provided me with 3 days off instead of the usual Sunday each week and we were able to get a fair amount accomplished in that time. I had made all the wall frames and roof trusses at home from some extra cheap timber I picked up off ebay. We trailered them up and simply lifted them into place and squared and fixed them in place.
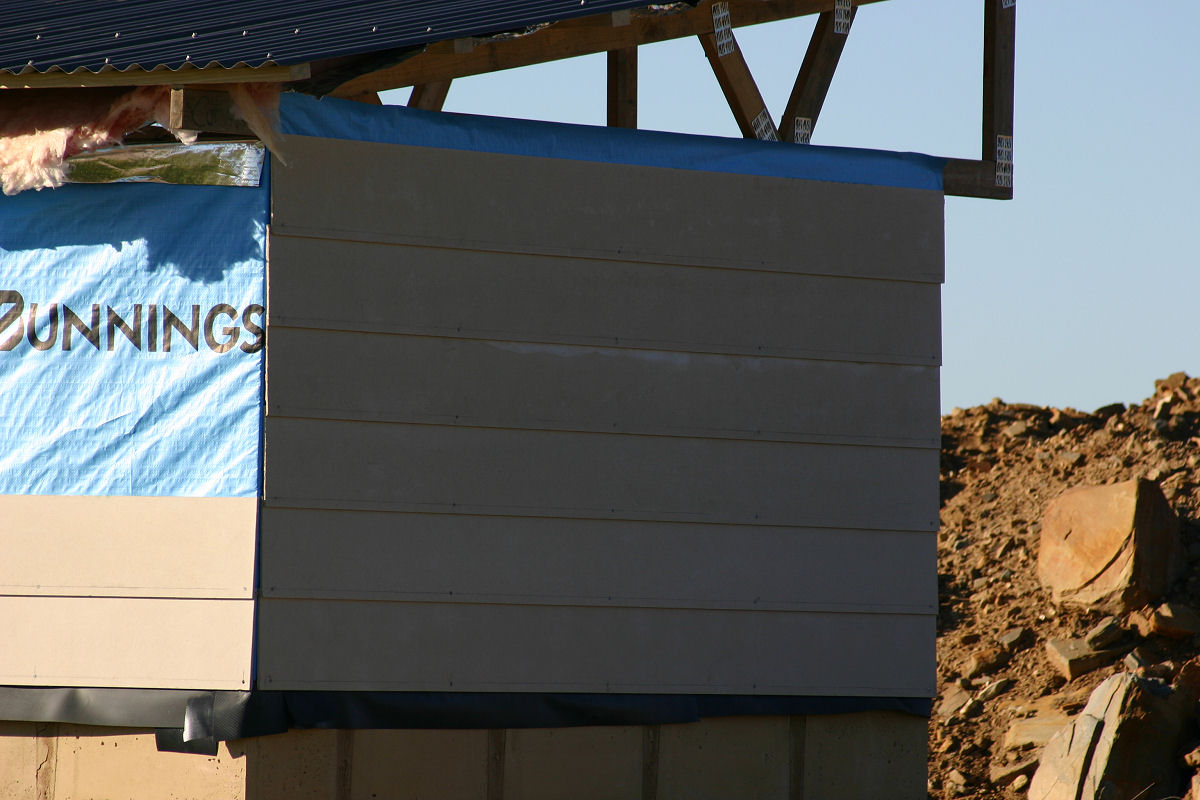
You may notice the frames are doubled up, this was so the weatherboards and the internal linings would overhang the earthen walls to keep water externally and dust internally from sitting on the lip that would have been created had I used a single frame.
No bracing was used as the Hardi Plank weatherboards are able to be used as a structural brace.


We used a breathable barrier as per Hardi Plank installation instructions. Roof has a 75mm breathable blanket under the tin.


Door and window have been fitted, all I have left to do is flash the corners and give it a couple of coats of paint. Internally the fitout can be done as rain and wind make working outdoors too difficult.
Posted in Uncategorized | No Comments »
April 2nd, 2011
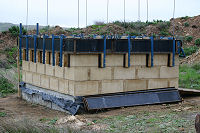
Progress has been slow with the weather continuing to be unseasonally wet. First pic in this update shows the complete moulding for the layer set and ready to be poured.
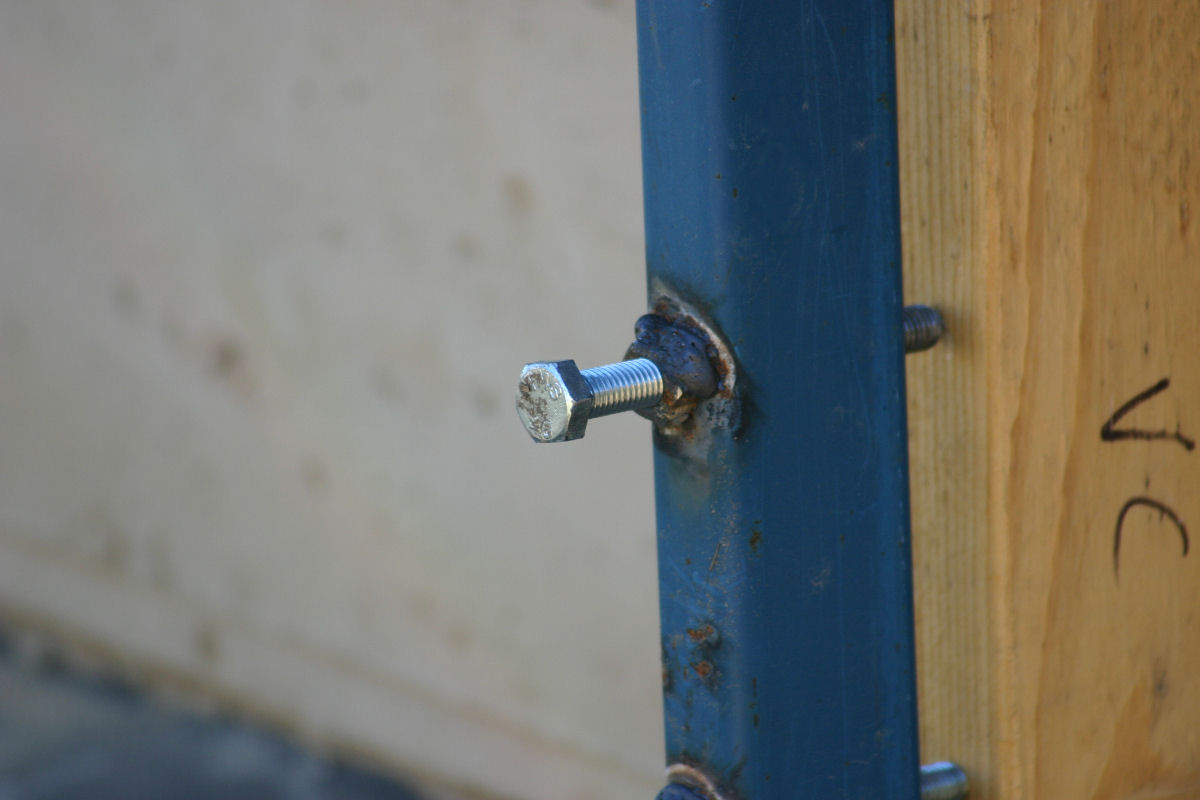
Second pic is the levelling system in action, by propping the shutters with lengths of wood all we need to do is turn the bolts until the mould becomes level.
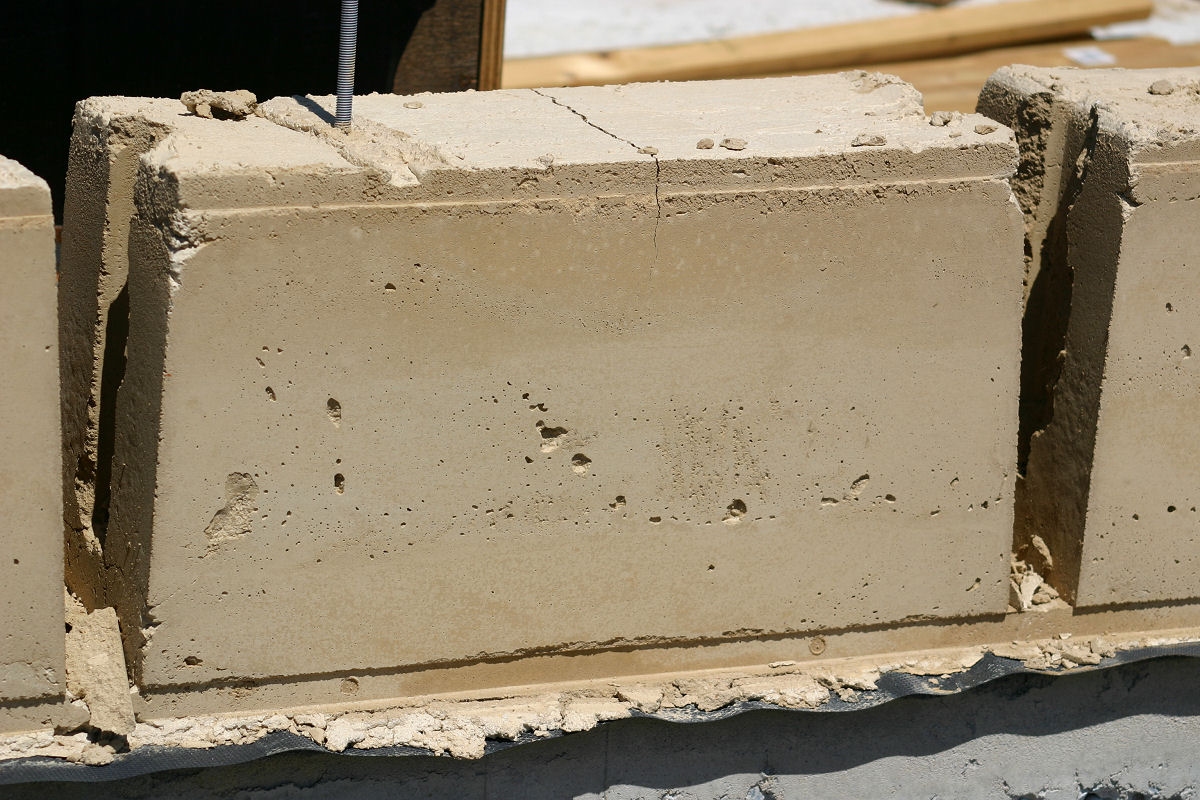
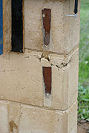
Third pic show the untouched voids which have been cracking.


Fourth pic shows one I tried filling with a metal trowel which scratched the blocks either side.
We’ve since found if we use a silicon spatula to push the mix into the cracks and then wipe it off with a wet cloth it is filling the cracks and they are not noticable.
Final pic is the embedded hardwood strips that the door and window framing will be fixed to. The strips have been sealed with linseed oil and antimould and have three 100mm galvanised screws set at obscure angles to make sure they stay anchored in the walls.

Posted in Building Progress | No Comments »
March 20th, 2011
It’s been a staggered effort with unseasonal wet – very wet – weather putting a stop to building several times over the past 2 weeks.
The rain is not all bad, the huge planting effort we made this time last year is clearly evident in the woodlot with many of those trees now over a metre tall and growing strong. We now have half of the power room walls in place and were going to pour another layer yesterday when another rain system set in and washed out the rest of the day.
Good news is all the bugs are looking to be worked out of the mould system. The major issue we have left is the vegetable oil when left for more than a day is going tacky and causing the skin of the poured blocks to come away when the moulds are stripped down. We are trialling the next layer with motor oil, which is thicker and “slicker” than the veg oil and will hopefully allow a clean release of the shutters from the set blocks.
A secondary issue is with filling the voids as subsequent layers are poured. These are shrinking considerably with minor cracking, and while consistent they do not “look right”. There should be enough depth to be able to apply a render coat in these areas and for consistency sake I’ll do the lot with one batch once the walls are up.
Photos to come this week. We literally have been carrying so much stuff in the truck and trailer to store in the neighbours’ sheds it’s come down to camera or food/water for the remaining space.
Posted in Building Progress | No Comments »
March 20th, 2011
United Fasteners sold me some 100mm high tensile m10 bolts – $146.90
Total project spend is now at $287,907.04
House only is now $73,954.54
Cost per square metre is now $256.79
Posted in Project Costs | No Comments »
February 20th, 2011
Little fella started back at playgroup last week so the first cold of the season has laid me up for the past 5 days and I am feeling like I need another 2 at least to beat this bug. It’s been a good time to sit and ponder on where things are with the build. I’ve given us a general tick for everything being where it needs to be, although I would have liked the power room to have been finished already.
Still, lots of learning has been done, lots of modifications have been made and the future looks simplified shall we say.
Our next pour day will be the other side of the power room first level blocks where the lessons learned from the first blocks will be used to hopefully give the desired finish. If this comes out as we want then the whole build will be ramped up and we’ll be going for broke.
The power room is using only a third of the shuttering I have made so I could, time permitting, start on the smaller portions of the house while finishing off the power room. Wishful thinking maybe? Probably, but I’ve lost the opportunity to get 70 or so blocks done while I have been sick. I am going to take every opportunity from here on in to get an extra block in whenever I can. With 960 odd to make, sneaking an extra 1,2 or 3 in a day will make a significant difference to how long the whole wall making process is likely to take.
Posted in Rantings and Ravings | No Comments »
February 17th, 2011
Bianco sold me 80 x 20kg bags of brighton lite (white) cement for $651.20
Stratco for bits and bobs $62.51
Total project spend is now at $287,760.14
House only is now $73,807.64
Cost per square metre is now $256.28
Posted in Project Costs | No Comments »