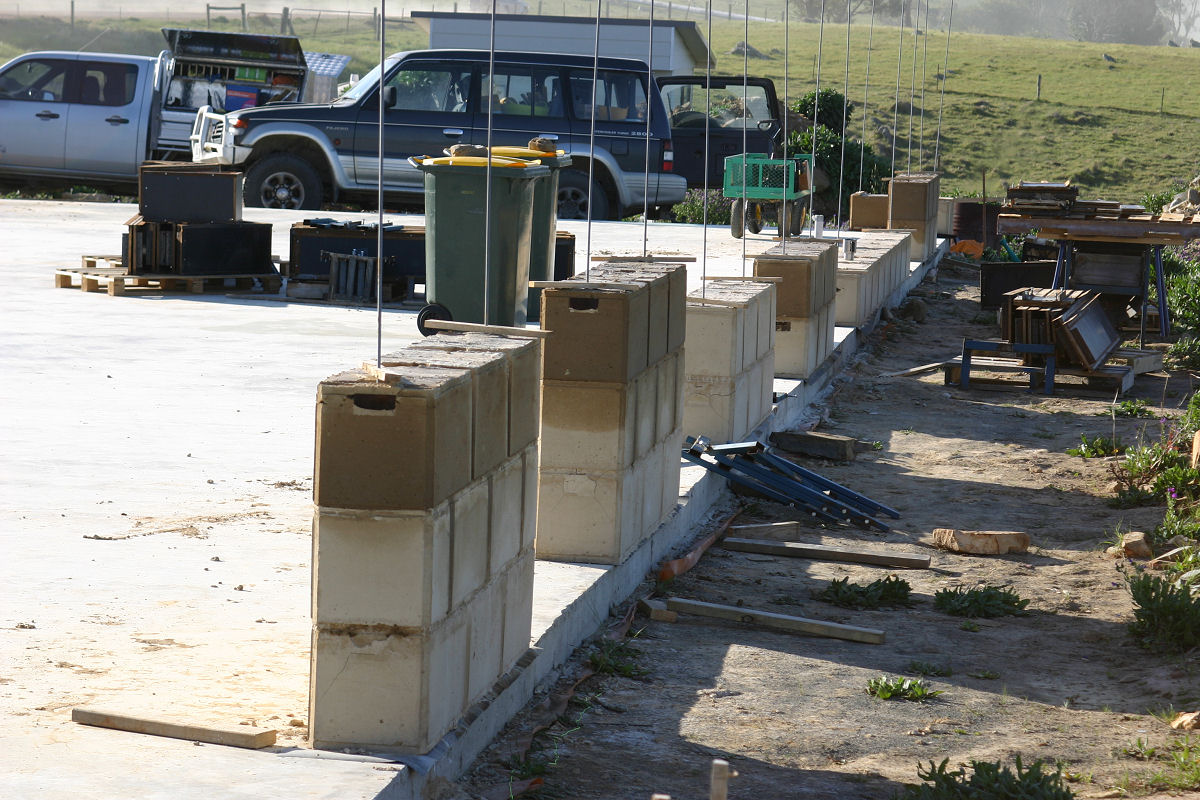
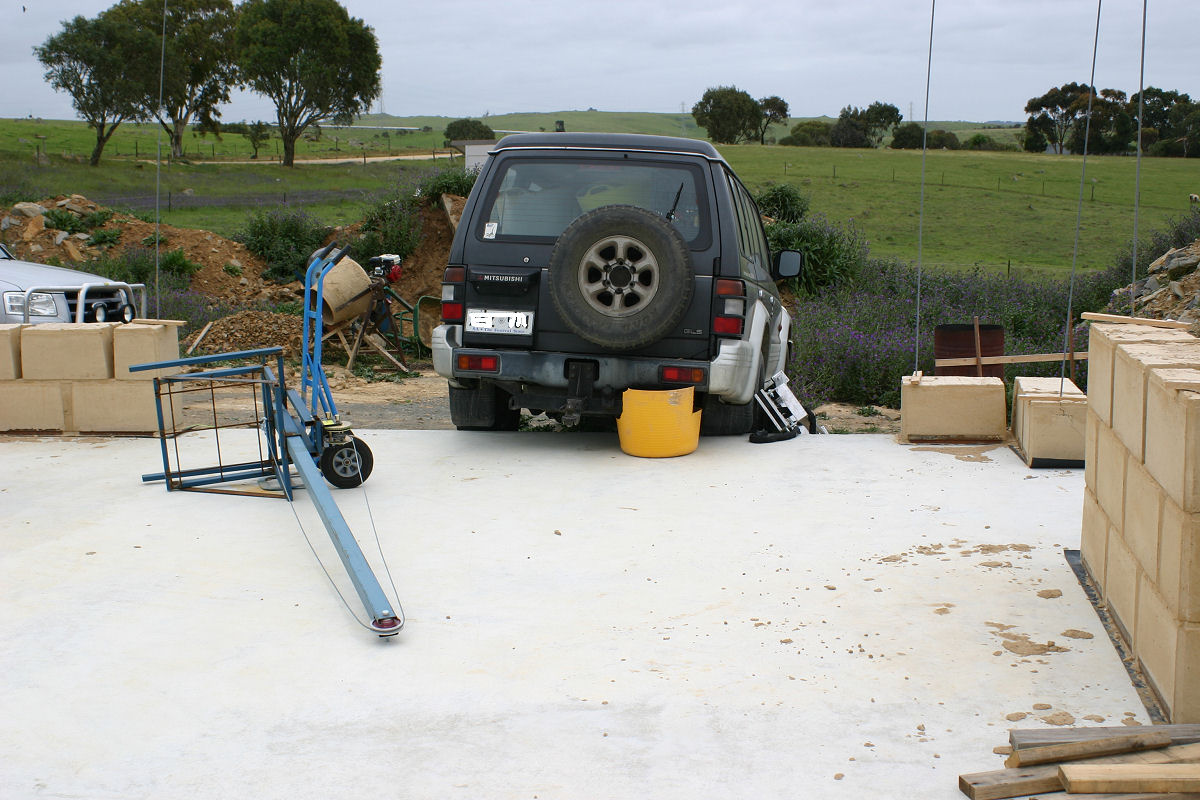
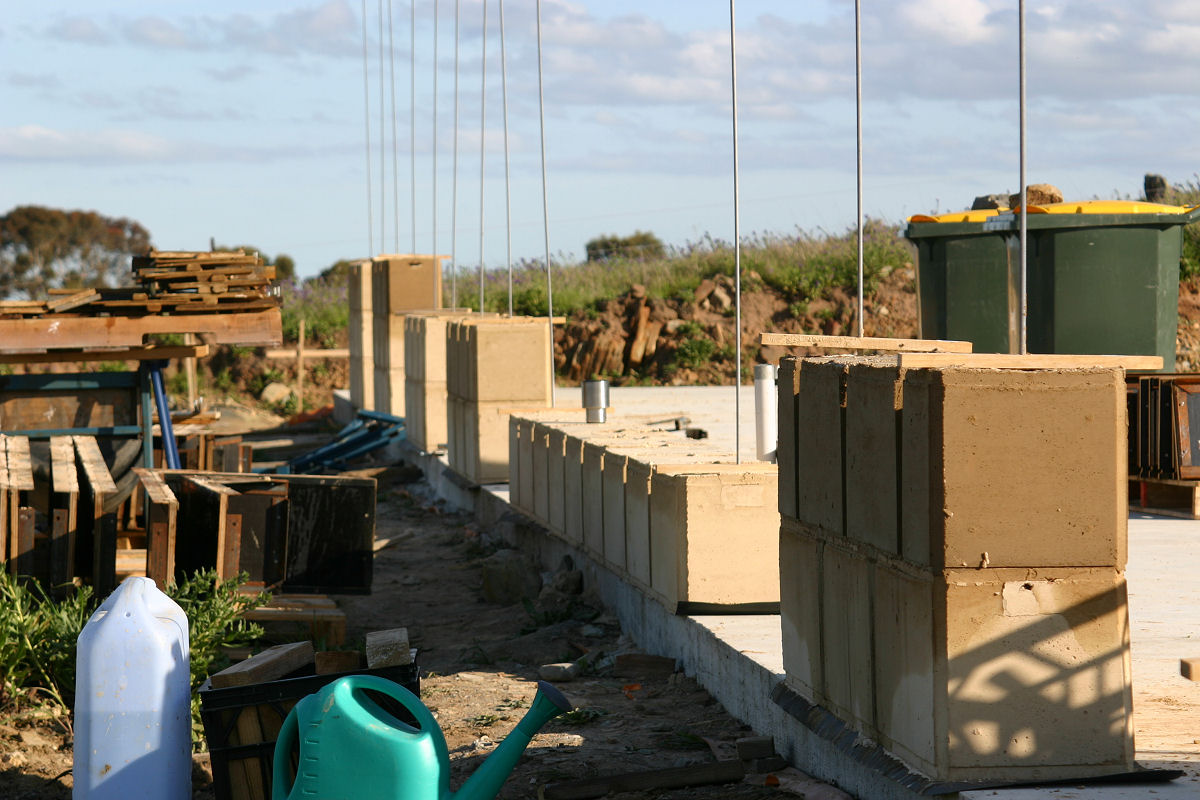
Archive for the ‘Building Progress’ Category

One third complete

Wednesday, December 7th, 2011

By volume anyway. The first section is now 7 layers tall, and we will now work our way around the house and bring all sections to this height. The eight layer needs threaded rods added to fix the wall plate for the return verandah and once we get to here we’ll be using a laser level to ensure that all rods are somewhere near level. You’ll notice some ad-hoc block placement in sections further away from the lens. These are the skinny blocks of the veneer section and they are being filled with the excess mix from the full width blocks. Every 3 full width blocks leaves enough mix to fill one of these skinny blocks.

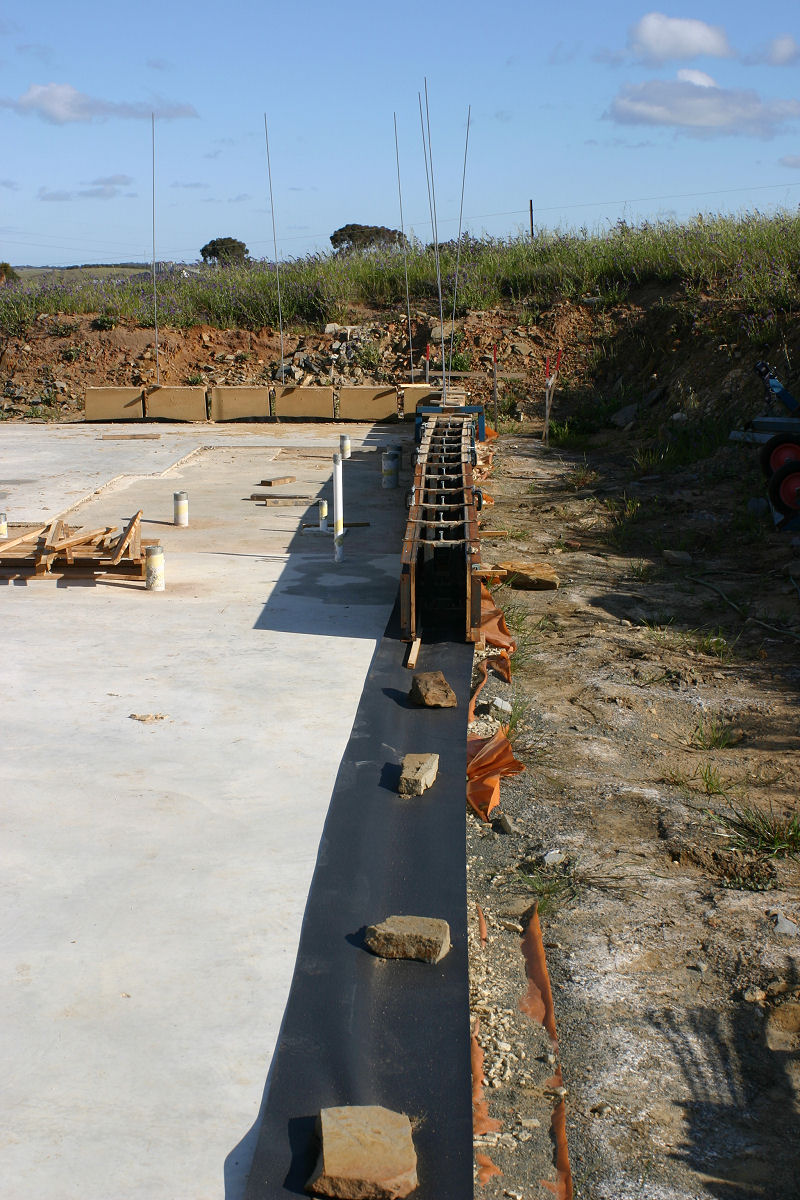
Pic 3 is one of the “Weepas” I mentioned in a previous post. I’ve had to make a special set of void shutters to fit these, and once the area around them is tidied up that red plastic you see is removed and we have bushfire compliant weepholes in place for the veneered section of the house.

Expansion joint detail

Wednesday, December 7th, 2011

As promised, some pictures of the expansion joints and hopefully a clear explanation of what I’ve done. As mentioned in a previous post the “straight through” expansion joint had potential issues we were keen to avoid, so this is what we’ve done to comply with the engineering and avoid those potential problems years down the track.

Pic 1 is of course a toad and not an expansion joint. This little fellow was living in the sand pile, some 300 metres from any source of water. We have since uncovered 2 more as we dig further through the pile. Pic 2 is the joint minus the 50mm foam strip that I’ll glue into place once the walls have been sealed. Pic 3 shows the double thickness of the 100mm foam and the preformed urethane ” sausage” that is glued to the wall and held in place with a couple of galvanised screws until the urethane adhesive has had a chance to cure. You’ll notice in pics 3,4 & 5 that the peak in the joint connectors is covered by the foam, what I forgot to get a shot of is that before we pour there is also a piece of foam fixed into the underside of that peak to exclude the mud and allow the joint to articulate properly. The 10mm gap between wall sections on the wall face is ahceived by using 10x50mm pine wrapped in Glad’s “go-between” which nothing ever seems to stick to. It pulls free easily once the blocks are set and is economical to use.

Crane in use

Wednesday, December 7th, 2011

It seems to have been a while since I updated. Life’s been hectic with a lot of things going on besides the build so time to sit and type has been sadly limited.

We’ve had the crane in use as we get to levels 5 and above, and it has proved an absolute winner. Quick and easy to manouver and capable of lifting 60kg+ without any ballast or outriggers in place it makes working at heights safer and easier.

Pic 1 will give you an overall idea of what it is, essentially a boom lift with a hand winch at one end to trim and a remote electric winch at the other to control height once in place. The ugly setup of jumper cables has since been replaced with anderson plugs, since this was the first real use I needed to assess cable lengths and placement before I committed to making the connections permanent. Pic 2 is a close up of how it’s made mobile. 2 large wheels up front have a 10mm ground clearance and the jockey wheel allows the rear to be lifted for moving or sat on the frame to keep things steady. Pic 3 is the battery cradle and front cross brace.

Pic 4 shows the electric winch with the cable remote fitted, it also has a wireless remote if needed. Pic 5 is the whole thing being used to lift and position the shutter set. I’m using a 400kg rated ratchet strap as the sling since the hooks make fixing and removing it quick and easy.

Weather woes

Sunday, October 23rd, 2011

I am fast learning the real enemy of earth building – other than bureaucrats with nothing better to do than over regulate everything – is the weather. We’ve lost a lot of days (12 out of 21 so far) in October to just a couple of heavy rain days that have turned the site and our material piles to unworkable slush. This is beginning to get somewhat frustrating.

We do have some progress though and the outline of the house is now identifiable as the house with window and door openings marking room locations.

First  pic above is showing how we are making the transition from full to 2/3 width blocks where the veneer portion of the house begins around the wet areas. Pic 2 is the expansion joint ties set into the wall. I have preformed a rectangular “sausage” of polyurethane of 50x20mm cross section that will sit against the flat face between the ties. Each of the ties will have some high density foam wrapped around the articulation area (the peak if you will) to stop the earth mix from constricting the movement they need to have to function correctly. The angled faces the ties sit in will then have a double thickness of expansion gap 10mm foam stuck to them. Once that is in place the next block will be shuttered and the mix poured straight against it. Again, I will follow that explanation up with some pics as we get to that part of the build. Pic 3 is Elise enjoying the view as she scrubs down the dirty shutters.

I’ve solved the dilemma of forming weepholes in the skinny blocks as well. http://www.weepa.com.au is the product we have ordered, having to be bushfire compliant means we need to screen the weepholes with fine mesh to stop ember ingress. After racking my brains for hours about how to achieve this a quick google search found this product and they were cheap, less than $3 total for the 90mm extreme bushfire weepa with a 90mm extension.

20% done

Saturday, October 8th, 2011

20% of the mud required has now been mixed and poured. We’ve lost a few days with wet weather over the past 4 weeks since hitting the 10% mark but looking at my notes on what has been done for the time available the next 10% will be done in around 10 days.

Now we have the base layer complete the process of setting up and levelling/aligning the moulds is taking half the time of the base layer. Most of the resets are falling into place and require minimal if any levelling, usually the end plates are the only part needing to be squared and plumbed.

The extra shutter sets I made are now coming into their own. I am able to simply pull down and put the used shutters to one side and then reset with the newly cleaned and oiled extras. When I have a helper come up for the day they are cleaning the dirty sets and reoiling them for me.

It is a massive undertaking and all told we are happy with progress so far.

Progression yes, speed no.

Thursday, September 29th, 2011

4 days of horrible wet and windy weather have given me the opportunity to sit and do some thinking and give a few updates on what is happening and where we are with the build.

As we come to the end of the first pallet of white cement I’ve crunched the numbers and we are getting 2.12 blocks per bag. We do have some excess with every mix, and if I combine this back into the mixer with the next batch, every 5 full size blocks will yield enough excess to fill one of the skinny blocks. That will improve the yield per bag somewhat. This could not be done with the full size blocks as the volume of mix was simply impossible to handle by myself when it comes to lifting it onto the cart then dragging it around the site.

Why so much excess each mix? To cover spillage, leakage, slippage and the occasional brain fade.

The base layer is complete minus the blocks that will pour into the expansion joints. Pics 1 and 2 below show the difference between skinny and full size blocks. 3 and 4 are details of how we are maintaining the gap between the skinny blocks and the interior timber frame using wood machined to the required size.

Pic 1 below is the front door, pic 2 is the large french doors and sidelights that make up the northern glass of the dining area. Pic 3 is what the shuttering looks like when it’s slapped into place and before the string line and spirit levels are brought into play.

Final three pics are of the living area west wall, no windows in this lot. Note the expansion joint insert and the unpoured block next to it. In a previous post I attempted to explain how this would work, what this might show you is how I intend to make it work. Once the foams are in place (where the insert is) the next block will be shuttered and poured straight against those foams.

10% done

Thursday, September 8th, 2011

In terms of the volume of mud we need to mix we are 10% through the process of building the walls. This coming week I hope to have the base layer completed around the perimeter of the slab. This is the process that is really holding things up.

Pic 1 below shows the fourth layer of blocks set up and ready to pour on one of the window columns. Pic 2 shows the master bedroom corner which has been set up back to the recess in the slab, and that is where the thinner blocks then take over and wrap around the wet area. Pic 3 is a shot from sou’west of the slab.

Pic 1 below is another shot from the rise behind the house. Pic 2 is my interpretation of the engineers spec for the expansion joints. This corner is the internal mud wall that creates the thermal mass behind the fireplace and acts as the entry way to the house.

All our expansion joints were specified as for standard double brick, meaning there is a gap that literally passes straight through the wall and only has a strip of foam keeping weather, vermin and bugs out of the house. My method is to encase a double thickness of this foam (2 strips of 100mm x 10mm) on the longer of the 2 angled faces and use a 20mm x 50mm hard foam strip down the middle of those 2 strips. When the next block is set to pour I will use 2 10mm x 50mm inserts to allow for the conventional 50mm sealing foam to be added later. The next block would then be poured straight against this, providing the expansion joint as required and hopefully excluding weather, vermin and bugs when this method is used on the external walls. If you’re confused, me too. Pics to come and the thousands of words they convey should clear the mud on that explanation.

Pic 3 is one of those “godsend” finds and is a 4’x2′ garden cart that we use to transport all sorts of stuff from one end of the slab to the other. 40 metres from the staging area by the cars to the far end of the slab doesn’t sound like a long distance until you start traipsing back and forth half a dozen times to carry what this cart can in one trip. Once everything is in place the cart becomes our mud barrow when we use a couple of 60 litre tubs to pour the mix into. With a skid in place, this will make it easy to transfer the tub of mud to the mortar lift (below) to lift up to the higher layers.

And finally, the mortar lift. I’ve designed and welded together a lot of projects and gadgets over the years and this one is the first to scare me no end. What it is is a 600mm square base with a 500mm square cradle to hold the mortar sitting internal of this. It has been made to lift to 2700mm maximum. The winch is a standard boat winch with a 500kg rated capacity. The winch is offset to allow the cradle to rise and fall the full height of the mast. Atop the mast is a 100mm pulley spinning on a 5/8″ high tensile bolt as the axle. The mast has 10mm strips welded internally to stop the weight of the full cradle from tearing larger holes in the 2mm steel of the mast over time. To move the lift we simply use a sack trolley when needed. For safety reasons I will be checking the welds weekly as part of the maintenance routine we have in place for all the other machinery on site.

Progress!

Thursday, September 1st, 2011

After nada for so long we can actually brag about making some progress with the house build. This first layer as I have said in previous posts is a drawn out process which is slowing things down for now. First pic below shows the “front” of the house from the master bedroom end. Currently the highest we have poured is three courses, the full height of these walls is nine courses.

Second pic is the moulds set and ready to pour for the second course of the kitchen area of the house. I have been assisted by my father-in-law for much of the work so far and thanks again Roger, your help is truly appreciated. Third pic is meant to show just how much water I am pouring into the previous bricks to stop the void cracking problem we had encountered with the power room.

As a carry over from the third pic above, the first pic below demonstrates just how the moisture from the new layer is drawn into the previous blocks as seen in the middle group of blocks. Second pic below is old truck and new bus. The Pajero lives on as storage for now and is quite handy to stash things between trips back to town. Last pic shows the kitchen wall area before the moulds were reset. Again you can see just how much moisture the previous layer of blocks is capable of absorbing in the grouping closest to lens.

So far the results we are achieving are pleasing. I’m looking forward to completing the lower level of blocks around the perimeter of the house, from there the pace of the build will increase. We are seeing days in the mid 20’s already which is a bonus with the moulds now coming off after 24 hours. On the downside as things warm up and materials dry out I am already using 5 litres more water per batch compared to last week and having to mix the soil and water for longer to activate the clay. Put simply I now have to keep a very keen eye on the mixes to make sure they look right in texture and mositure to keep our end result consistent.

Update on our lack of progress….

Sunday, June 19th, 2011

A run of wet weekends has spoiled our dirt parties over the past few weeks. On the 2 occasions we could have done some work we have been suffering through colds and sniffles our boy keeps bringing home from kinder gym or playgroup. Such is life.

Still we did get up there this weekend and spent a full day organising all the bits and pieces so the next fine break we get we can spend building the actual house. Our neighbour has electrically fenced off our woodlot and the house area and has his cattle happily grazing in the paddock in pic1. We went for a bit of a wander as well to have a look at how our tree plantings have progressed since around this time last year. Some of these trees have grown more than a metre since we planted them and you can see Elise standing amongst them and indicating actual height in pic 2 & pic 3.

The trommel was assembled as in the first pic below and tested for workability and it performed flawlessly. The width of the cage is just smaller than our builders barrow so all that needs to be done is throw dirt in, empty barrow and occasionally empty the barrow of rocks on the other end. I reckon we’re seeing far less rock come out the other end compared to the shaker sift where half the lumps were just compacted dirt and not rock at all. You’ll notice I welded up a quick support stand to keep some of the pressure off of the axle end of the barrel. Second pic is all the formwork on the slab ready to go.

Weather and timelines

Thursday, May 26th, 2011

Quite frankly the long range weather outlook is rather bleak with plenty of rain affected days to come over the next few months. In view of this I’ve just ordered enough steel and formply to double the current mould system shutters.

Since the dividers can be removed without actually exposing any of the drying earth mix these will not need duplicating, but the dividers they sit within will also need duplicating. This way when the sun shines I will be able to “make hay” (40 or so metres of wall) over 2 days and still allow the 2 day drying time that seems to have worked with the power room when we were experimenting with method.

Perfect weather would see us have the walls finished in under 9 weeks using the time per block we achieved with the power room during our testing. Since we can’t control the weather we’ll just do all we can to use fine conditions to our advantage instead.